
In under ten minutes you’ll know whether you’re likely to qualify for the UK Ancestry route, which documents to gather, how much to budget, the exact steps to apply and the common pitfalls to avoid. ExpatsUK’s printable checklist and community tips are woven through this guide to help you move from paperwork to a welcome letter in the UK.
Who can apply? Citizenship, age and the grandparent test
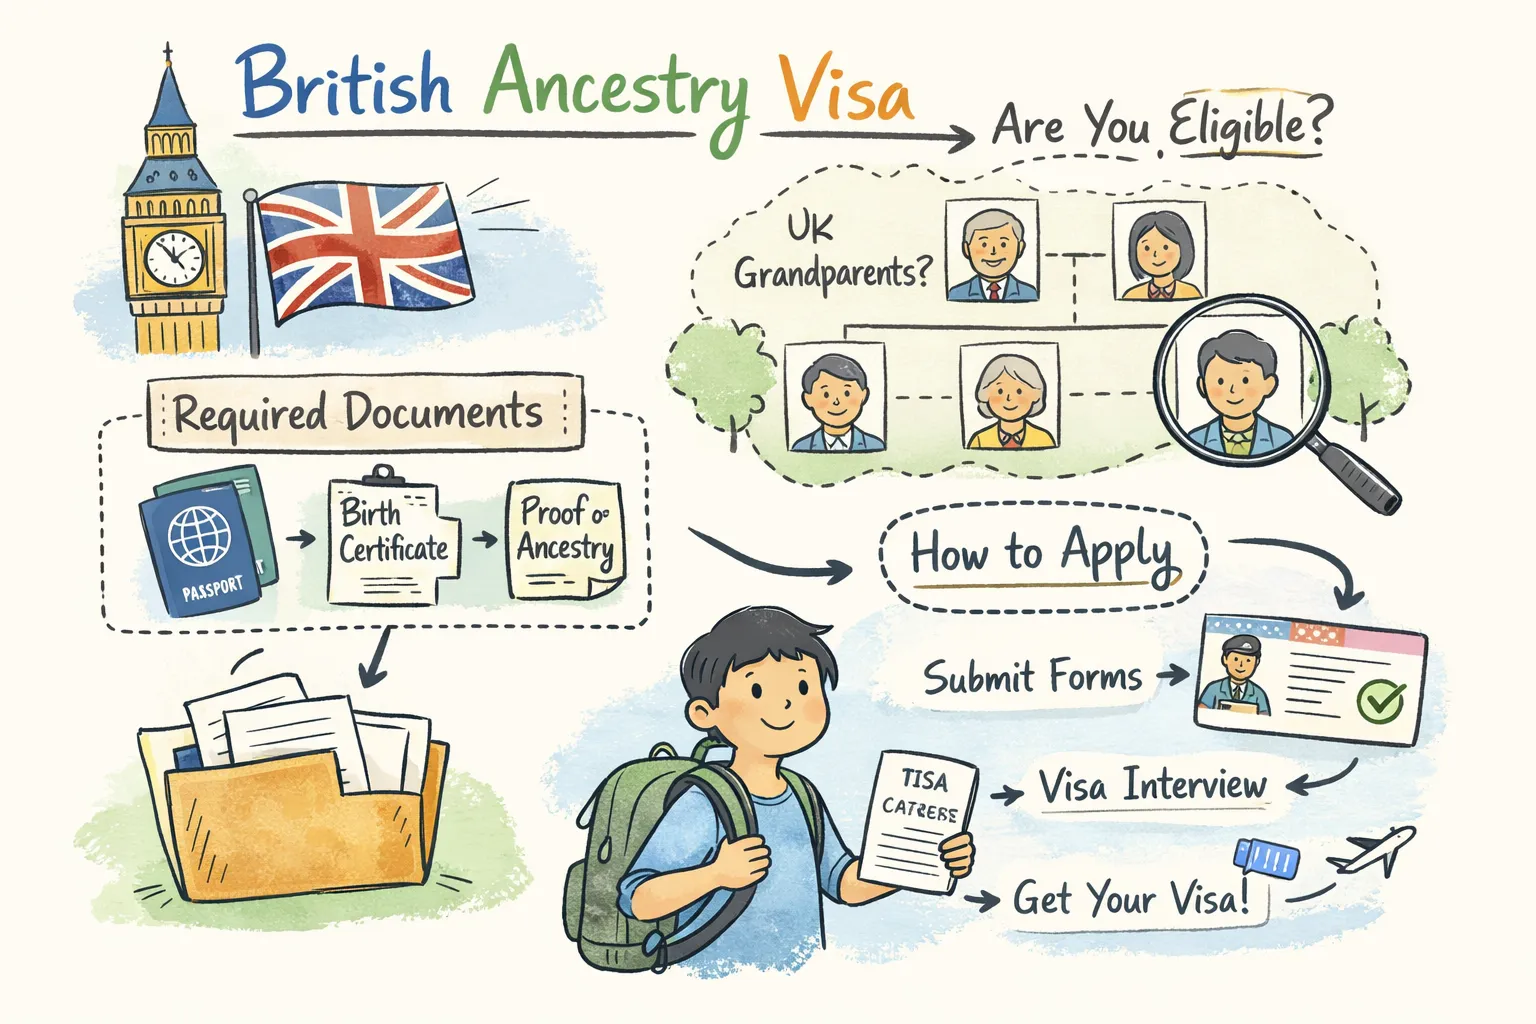
The basic rule is straightforward: you must be a citizen of a qualifying nationality, be at least 17, and prove one grandparent was born in the UK (or qualifying territory). Read these short checks and you’ll know if it’s worth continuing.
Eligible nationalities
Applicants must hold one of these statuses: a Commonwealth citizen, a British Overseas Citizen, a British Overseas Territories Citizen, a British National (Overseas) or be a citizen of Zimbabwe. “Commonwealth citizen” covers countries like Canada, India, Australia and many others — it does not include US citizens unless they hold one of the listed statuses.
Age
You must be 17 or older when you apply. GOV.UK is the authoritative source for the precise wording and any updates.
The grandparent birth test
One grandparent must have been born in the UK, the Channel Islands or the Isle of Man; or born before 31 March 1922 in what is now the Republic of Ireland; or born on a UK‑registered ship or aircraft. This is proven with civil registration documents that form a continuous family chain.
Quick eligibility test
- Nationality: Are you a Commonwealth citizen, a British Overseas (or BN(O)) citizen, or a citizen of Zimbabwe?
- Age: Are you 17 or older at application?
- Ancestry: Can you trace one grandparent’s birth to the UK/Channel Islands/Isle of Man (or the pre‑1922 Ireland exception)?
How to prove your ancestry: the documents that matter
Visa decisions rest on documentary chains. The stronger and earlier you order certified civil copies, the safer your application.
Document map (applicant → parent → grandparent)
Start with your full birth certificate. Then the parent’s full birth certificate (showing both parents’ names). Finally the grandparent’s full birth certificate showing the place of birth in the UK (or Channel Islands/Isle of Man). Marriage certificates, adoption records and name‑change documents are used to bridge mismatches in surnames or parental details.
Primary evidence and when passports help
A full birth certificate is the preferred primary evidence of place and parentage. Adoption certificates are accepted where relevant. A current passport can support your case (confirming identity and details) but usually won’t replace a civil birth record for proving birthplace. UK/Channel Islands/Isle of Man driving licences may also be accepted in particular circumstances.
Special registries and pre‑1922 Irish births
Channel Islands and Isle of Man births are registered with their own authorities (see gov.gg and gov.im). For older births (pre‑1922 Ireland) you may need records from Irish archives or certified civil copies. Order certified copies from the appropriate registry early — postal times can be long.
Missing records: practical next steps
If a certificate isn’t available, search parish registers, military service records, electoral rolls and marriage records to build a chain — but note: secondary evidence is riskier. The most common refusal is an incomplete ancestry chain. If you must rely on secondary evidence, explain this clearly and include as much corroboration as possible.
Practical document tips
Get certified copies early, use accredited translators for non‑English records, scan everything and prepare a one‑page cover letter that maps each document to the legal test (e.g., “Grandparent born in X — see doc 3: certified birth cert”). Label files clearly so Visa Officers can follow your chain at a glance. You can also download the Ancestry Visa UK — Guide: Eligibility, Docs & ILR printable checklist for a ready-made document map.
Fees, the NHS surcharge and processing times to budget for
Costs can be surprisingly high up front. Check GOV.UK before you pay, but use these headline figures to plan.
Application fee (typical): £682 per applicant. Immigration Health Surcharge (IHS): £1,035 per adult per year. For a standard five‑year entry that’s £5,175 IHS, so a single adult would pay roughly £682 + £5,175 = £5,857 upfront (excluding translations, documents and travel).
Expedite options (where available) add cost: priority service is typically around £500 for a ~5 working‑day decision, and super‑priority roughly £1,000 for a next‑working‑day decision. Standard processing from outside the UK is usually about three weeks.
Other predictable costs: registry fees for certified copies, accredited translation fees, travel to the Visa Application Centre and any paid immigration advice. Practical tip: don’t book non refundable travel until you have the decision and the entry vignette.
Step‑by‑step application checklist (ready → landed)
- Confirm eligibility using the Quick Test and list the family chain documents you need (your birth → parent → grandparent).
- Order originals/certified copies: grandparent’s full birth cert, parent’s birth cert, your birth cert, plus marriage/adoption/name‑change documents. Arrange translations early for any non‑English papers.
- Gather evidence you intend and can work: recent CV, job offer or recruitment emails, professional registrations or a short business plan for self‑employment. Also prepare proof of maintenance and accommodation (bank statements covering a 28‑day consecutive window ending within 31 days of application is typical).
- Complete the online application on GOV.UK, pay the application fee and the IHS. Choose priority services only if timing is essential and you can afford the extra fee.
- Book and attend your biometric appointment at the Visa Application Centre. Bring originals, your passport and a printed copy of the application. Expect fingerprinting and a photo.
- Wait for the decision. If granted you’ll receive a 90‑day entry vignette. Use that to travel and collect your BRP in the UK (check your decision letter for the exact collection location and window, commonly within 10 days of arrival).
- After arrival: collect your BRP, register with a GP, apply for a National Insurance number and open a UK bank account. Use a “first 30 days” checklist to get these done quickly. For a practical moving checklist and settling‑in tips see Moving to the UK from USA — A Calm, Practical Plan.
Micro‑tips: include a one‑page cover letter mapping each document to the rule; scan and keep digital backups; and download the ExpatsUK printable checklist to tick off items before you submit. You can also consult the FAQ, expatsuk.net and share a redacted document list on ExpatsUK’s community boards for friendly peer review when the boards are live.
Bringing family, conditions of stay and the five‑year route to settlement
Partners (spouse, civil partner or qualifying unmarried partner) and children under 18 can join you as dependants. They’ll need relationship documents (marriage or birth certificates), passports and proof of accommodation and maintenance. There’s no separate English language test for dependants on this route. For partner-specific documentary requirements see our UK Spouse Visa Application: 2026 Step-by-Step Guide.
While on the visa you can work and study without restriction, but you cannot access public funds. The usual route to settlement is five years’ continuous residence, with no more than 180 days’ absence in any rolling 12‑month period. At settlement you’ll normally need to meet language and Life in the UK test requirements unless you are exempt. If dependants plan to study separately, see the Apply for UK Student Visa: 2026 Step‑by‑Step Guide for course and sponsorship rules.
Common refusal reasons — and how to avoid them
Frequent causes of refusal are easy to prevent: an incomplete ancestry chain, uncertified or unsigned documents, inconsistent names/dates, weak evidence you can and will work, and missing maintenance/accommodation proof.
Concrete fixes: order original certified civil copies; create a chronological evidence table so an officer can follow your family chain; use accredited translations; include employer letters, recent payslips or a CV to show work prospects; and write a short cover letter linking each document to the legal requirement. If your situation is complex, consider asking a regulated immigration adviser for targeted help.
Conclusion — three immediate next steps
Run the Quick Eligibility Test, order your grandparent’s certified birth certificate, and download the ExpatsUK printable checklist to organise documents before you apply. Confirm current fees and exact timelines on GOV.UK. If your case looks complex, post an anonymised question in the ExpatsUK community when the boards are live or consult a regulated adviser.