
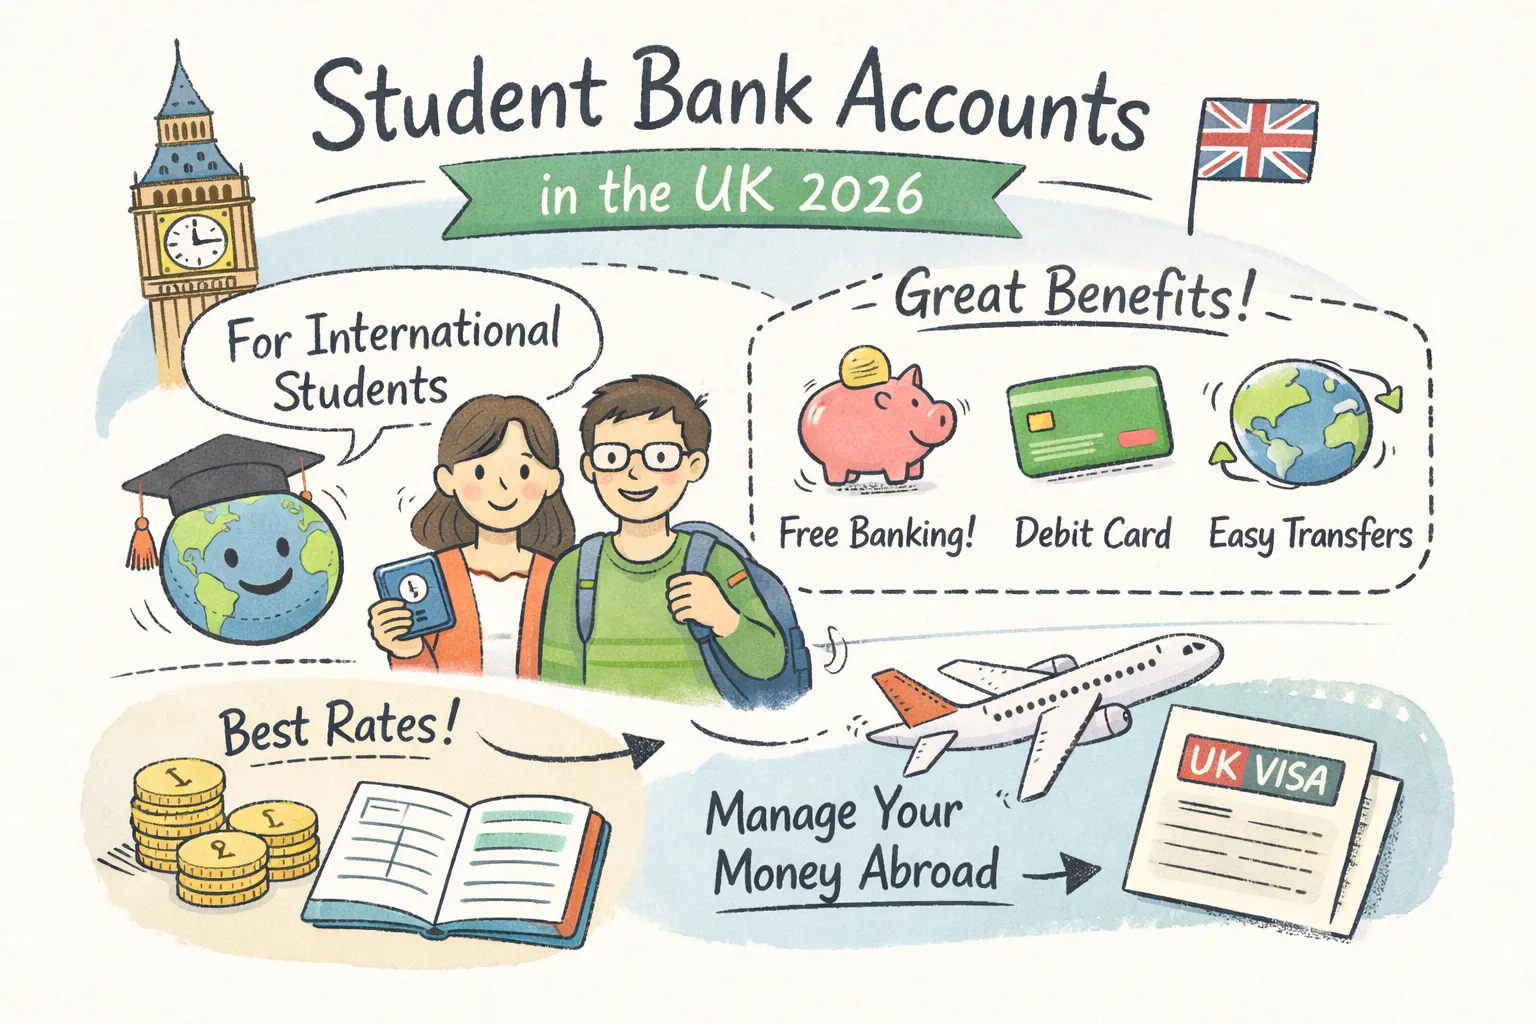
Arriving in the UK with a suitcase and a start date — but no bank account — is a story I’ve helped thousands of students through. Read this once and you’ll leave knowing which type of account fits your situation, exactly which documents to pack, how to apply (including pre‑arrival routes), and the common problems you can avoid. ExpatsUK has already gathered bank‑by‑bank notes and a printable checklist to save time; our message boards are coming soon for live tips from students near your campus.
Top picks at a glance — who to choose and why
The decision usually comes down to four fast questions: do you need access before arrival, do you want the lowest possible FX costs, do you value in‑branch support and overdraft options, or do you prefer simple, app‑first banking? Below are short profiles — headline feature, quick eligibility note and who each is best for.
HSBC International Student Account — headline: pre‑arrival options and global banking features; eligibility: aimed at students who have lived in the UK for less than three years and those with existing HSBC relationships abroad; best for: students who want to set up before arrival or who already bank with HSBC at home.
NatWest / RBS Select — headline: straightforward student perks and useful international receipt options; eligibility: common for UK students (check residency rules); best for: those who value a large branch and telephone network and occasional free incoming transfers in certain currencies.
Barclays — headline: wide branch coverage and optional overdrafts; eligibility: standard current accounts available to internationals (branches commonly ask for BRP/evidence); best for: students who want face‑to‑face help and clear overdraft options.
Santander (Everyday/Edge) — headline: retail cashback and mainstream support; eligibility: international students can apply (regional pre‑arrival options exist); best for: shoppers who will use high‑street retailers and want simplicity.
Lloyds and Nationwide — headline: reliable high‑street options with good local reach; eligibility: accept internationals with the usual documents; best for: students who want trusted high‑street banking and simple, fee‑free basics.
Monzo and Starling — headline: app‑first bank accounts with excellent mid‑market FX for card payments; eligibility: easy online sign‑up (some features restrict until UK address/BRP confirmed); best for: travel, budgeting and day‑to‑day spending.
Wise and Revolut — headline: true multi‑currency wallets, very low conversion costs and cheap international transfers; eligibility: quick online sign‑up, great pre‑arrival options; best for: moving money from home and managing several currencies during term breaks.
Halifax and TSB — headline: mainstream current accounts that accept international students; eligibility: usually require UK address evidence; best for: those who prefer a traditional bank with local branches and stable customer service.
Monese and Other Niche Providers — headline: very accessible accounts with minimal residency checks; eligibility: app‑based sign up often with fewer barriers; best for: temporary needs or when other banks delay verification (note: fewer student perks).
Quick picks — one‑sentence recommendations: Short‑course EU student (<6 months): use Monzo/Starling or Wise for fast setup and low FX. Long‑term international undergrad: try HSBC’s international student account pre‑arrival if eligible, then open a high‑street account on arrival. Student who travels frequently: primary = Monzo or Starling for spending + Wise for large cross‑border transfers.
Traditional banks vs digital fintechs — how to choose
The central choice is simple: do you prioritise branch access, student overdrafts and building local credit, or do you prioritise low fees, mid‑market FX rates and speed of setup? Each route has trade‑offs.
Traditional high‑street banks (Barclays, Lloyds, NatWest, Santander, HSBC) offer in‑branch support, established processes for student accounts, and the possibility of arranged overdrafts or credit products later. They’re often essential if your landlord, employer or university insists on a UK high‑street account for rent or salary payments. That said, many high‑street student packages limit international overdraft eligibility or require three years’ UK residency for certain perks.
Digital banks and fintechs (Monzo, Starling, Wise, Revolut) prioritise speed, transparent FX and low transfer fees. You can often open an account from your phone before arrival and move money quickly with inexpensive rates. The downside: some features (full verification, official bank letters for landlords) are restricted until you provide a UK address or BRP, and arranged overdrafts or credit products are less widely available.
If you need overdraft/long‑term UK credit and straightforward landlord letters, favour a high‑street bank; if you need low fees, great exchange rates and instant setup, favour a fintech; if you need pre‑arrival access, favour HSBC or a fintech multi‑currency wallet. Most students use a blended approach: open a fintech account pre‑arrival for immediate access and a high‑street account after you settle so you get the best of both worlds.
Exactly what to prepare in 2026 — every document you’ll need
Banks’ lists vary, so prepare a superset that will cover any application. Keep both hard copies and clear digital scans — most UK banks accept uploads during online applications, but branches will ask for originals.
- Valid passport (primary ID). The passport is the principal identity document; carry an original to any in‑branch appointment.
- Visa evidence — BRP or eVisa share code. If you have your BRP, bring it. If you don’t, get an eVisa share code from the Home Office (use “view and prove your immigration status”) — banks accept this code to verify right to reside.
- University enrolment evidence. A CAS, unconditional offer, student ID or a university bank letter on official letterhead showing your course start date and student number will usually do; if you need a bank letter, ask your university’s student services.
- Proof of UK address. Tenancy agreement, university accommodation letter, or a recent utility bill (if available). Some banks will accept an overseas address for initial sign‑up but require a UK address later.
- Recent home‑country bank statement (last 3 months). Banks sometimes request this to show your source of funds; a PDF from your home bank is usually fine.
- Helpful extras. Scholarship or sponsor letters, council tax exemption letters (where relevant), and a printed tenancy reference can speed certain processes. National Insurance number is not required to open an account but will be needed later for work.
Bank‑specific differences: HSBC and many fintechs allow more flexible pre‑arrival checks and sometimes accept overseas addresses at sign‑up. Barclays, Lloyds and other high‑street banks commonly require in‑branch verification and a BRP or equivalent proof. Quick tip: name your scanned files clearly (e.g., surname_passport.jpg) to avoid upload rejections.
For detailed, step‑by‑step instructions tailored to internationals, see the Open a UK Bank Account as a Foreigner — Steps & Docs page on ExpatsUK, which walks through pre‑arrival and in‑branch options in plain language.
How to open your account — step‑by‑step (pre‑arrival and in‑UK)
There are two realistic routes: pre‑arrival (fast, app‑first) and in‑UK branch application (more documents, but gives full access). Choose which fits your timeline — many students combine both.
- Choose provider & check eligibility.Read the bank’s international student page and eligibility checker. If you need immediate access on arrival, favour a fintech or HSBC’s international student route.
- Gather digital documents. Scan passport, visa evidence (BRP or eVisa share code), your university acceptance/CAS and proof of address or tenancy agreement.
- Complete the online form and verify ID. Upload documents, complete the identity checks (video calls, selfie checks, or app‑based verifications) and provide the eVisa share code if you don’t yet have a BRP.
- Activate the account and receive card. Activate via the app; some banks send a physical card, others deliver an e‑card instantly. Top up with a small incoming transfer to prove the account is ready for use.
Real‑world notes: Monzo, Starling, Wise and Revolut often allow sign‑ups before arrival but may lock some features until you confirm a UK address or BRP. HSBC can be used pre‑arrival (especially if you have an existing HSBC relationship abroad), and Santander offers regional pre‑arrival services in some countries.
For in‑UK branch applications: book an appointment where possible (student intake times get busy). Bring original documents, a printed university letter, and proof of address. If you’re asked for a bank letter for your landlord or the university, request one at the branch — banks will often provide a standard letter confirming you hold a current account.
Script to request a bank letter from the university: “Hello — I’m [Name], student number [X], starting [Course] on [date]. I need a bank letter on university letterhead confirming my student status and term address so I can open a UK bank account. Could you issue it to [Bank name] and include my student number and course start date?”
What to say at the branch if you don’t yet have BRP: “I’m an incoming student; I have my passport, my eVisa share code and my university acceptance/tenancy documents. My BRP is due to arrive — can you open a basic current account now or accept the share code until I collect the BRP?”
Contingency if a BRP is delayed: open a fintech account as a bridge, ask your chosen bank if they’ll accept the eVisa share code for provisional verification, and use an international transfer service (Wise/Revolut) for urgent moves until your full account is active.
If you still have questions about the core process, our FAQ page How do I open a UK bank account? covers the most common document scenarios and verification timelines.
Fees, foreign exchange and overdrafts — plain English comparison
Fees and FX quietly add up. Think in months and conversions, not just sign‑up bonuses — the wrong FX fee can cost much more than a few pounds in interest.
Monthly/maintenance fees: many high‑street student accounts are free; some premium or packaged accounts carry monthly charges (examples include small fees on certain branded packages). App banks such as Monzo and Starling provide free basic current accounts, while certain bank tiers (e.g., Santander Edge) have modest monthly fees for extra retail benefits.
Foreign exchange and card spending abroad: banks apply an exchange rate margin on top of the interbank rate. HSBC’s published example is roughly 2.75% on foreign card payments (check their published charges for exact figures). Fintechs (Wise, Revolut) typically offer mid‑market rates with a small transparent fee and are usually cheaper for card spending and transfers. A single term break and a few purchases abroad can quickly show the difference.
ATM withdrawals and international transfers: digital providers often allow free or very low‑cost transfers and offer more generous free ATM allowances; many traditional banks impose flat fees or use correspondent banks that add intermediary charges. NatWest and some banks offer favourable incoming transfer terms for certain currencies — always check the receiving fees for your expected currency.
Overdrafts and credit for international students: arranged student overdrafts are common for domestic students, but many banks restrict these offers to those with several years’ UK residency. Barclays and HSBC may consider arranged overdrafts case by case; NatWest and others often require a UK residency history for full student overdraft packages. Practical steps to improve your chances: deposit regular income, set up recurring payments, and ask your branch for a reassessment after a few months of steady activity.
Cost‑saving, plain‑English tips: use fintechs for large international transfers; set your card to use the card network currency option (avoid dynamic currency conversion); withdraw larger sums to reduce repeated ATM fees; enable instant app notifications and temporary card controls to avoid fraud costs.
Common pitfalls and how to fix them
Mistake: Bringing the wrong proof of address. Fix: Request a tenancy agreement or university accommodation letter before your bank appointment.
Mistake: Assuming pre‑arrival opening is always possible. Fix: Verify the bank’s pre‑arrival policy and have a fintech account as a backup for immediate access.
Mistake: Overlooking the eVisa share code. Fix: Generate a share code via the Home Office “view and prove” service and paste it into the bank’s form — banks accept this as temporary proof of status.
Mistake: Expecting a student overdraft automatically. Fix: Ask early, show scholarship or employment evidence, and plan to request credit after a few months of regular account activity.
Mistake: Not comparing FX costs before a big transfer. Fix: Do a small test transfer and compare the provider’s rate to the live mid‑market rate to see the true cost.
Mistake: Waiting too long to update your UK address. Fix: Update your bank address promptly to avoid blocked cards, missed mail and verification delays.
Emergency fixes: lose a card or spot fraud? Block the card immediately in the banking app, call your bank’s emergency number (found in the app/website), request a replacement and consider collecting emergency cash from your branch if needed. Many digital banks let you freeze/unfreeze cards in seconds — save those app numbers in your phone before you travel.
If you’re unsure which branch is fastest, use ExpatsUK’s upcoming message boards to ask local students about real wait times and branch experiences — peer reports often save you hours. Also consider downloading the Student Banking Pack and reviewing our UK Bank Accounts for Expats: Quick Compare & How to Open for bank‑by‑bank notes and a printable checklist.
Your 30‑day banking timeline and must‑do checklist
Small early wins make everything easier. Tackle the essentials in order so rent and scholarship payments land where they should.
Pre‑departure
Pick one fintech and one traditional bank to research; scan and upload your passport, visa evidence and university letter; open a Wise or Revolut account and send a small test transfer so your app works on arrival.
Arrival day
Buy a local SIM, withdraw a small emergency cash amount (£40–£100), and install the banking apps you opened pre‑departure. Ensure your phone banking is set up with a secure passcode and 2‑factor authentication.
Week 1
Book an in‑branch appointment if you need a high‑street account; take originals of your passport, visa evidence (eVisa share code or BRP), university letter and tenancy agreement. Ask for a bank letter for your landlord if required.
Week 2–3
Set up direct debits (rent, utilities), order any additional cards or overdraft reviews, and update your address across services (university, council tax, mobile provider).
Week 4
Apply for credit/overdraft if necessary, confirm scholarship or employer payments are routing correctly, and save scanned copies of your documents in a secure cloud folder for future needs.
Quick checklist to save or screenshot now: passport; BRP or eVisa share code; CAS/offer/university bank letter; tenancy agreement or accommodation letter; last three months’ home bank statement; student ID; scans stored in the cloud; bank app and emergency contact numbers saved on your phone. Banks typically take 3–10 working days to fully activate accounts and deliver cards — schedule around rent due dates.
Which one should you choose? Persona picks and next steps
Here are short, practical picks for common student profiles. Choose one primary option and one backup to keep your options open.
Short‑course EU student (<6 months) Recommended: Monzo or Starling for quick sign‑up and low FX; alternative: Wise for multi‑currency receipts and transfers.
Long‑term international undergraduate (student visa) Recommended: HSBC International Student Account pre‑arrival (if eligible) plus a high‑street account on arrival; alternative: open Monzo pre‑arrival and convert to a Barclays/Lloyds account in term‑time for local perks and branch access.
Postgrad on scholarship Recommended: NatWest or HSBC for straightforward incoming payment handling and free receipt options, while using Wise for low‑cost currency conversions; alternative: use Monzo for daily banking and Wise for scholarship transfers.
Student who travels frequently Recommended: Monzo or Starling as your daily card and Wise as your multi‑currency transfer tool; alternative: Revolut plus a UK high‑street account for local paperwork.
Mature student working part‑time Recommended: Barclays or Lloyds for branch access and potential overdraft/credit options; alternative: NatWest if you prefer a large local branch network and digital tools.
Next steps: pick one account to open pre‑arrival (fintech or HSBC where eligible), schedule an in‑UK branch appointment within your first week, download ExpatsUK’s Student Banking Pack (checklist and bank‑by‑bank notes) and join the ExpatsUK community boards when they go live to ask students near your campus which nearby branches are fastest. For a curated shortlist, see our Best UK Bank Accounts for Expats article.
One last reminder: bank policies change. Before you travel, double‑check the bank’s official verification pages and take originals to any appointments. For a complete overview and additional tips about banking as an expat, consult the Guide to Expat Banking in the UK. If you spot a new local trick or a bank‑specific workaround, share it on our upcoming message boards — we’ll keep this guide updated with user‑submitted branch experiences through 2026.
Safe travels and welcome to the UK — get the documents ready, open one account that works on day one, and you’ll have the rest of your term to choose the perfect long‑term setup.